It’s always been on the wish list to buy a van and convert it into an awesome camper. Decide to move my home anytime I wish, go on journeys all over…and well dreams are starting to come true.
Here’s how I converted my Dodge Caravan into my little escape home in Canada:
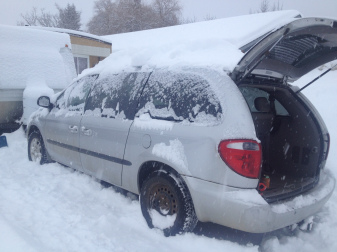
First Step: Buy a Van
This is most certainly an important step and the most expensive. Not only for the cost of the car but then the insurance you must buy with it. Oh and the very true Canadian way of charging a sales tax on a vehicle you buy privately…yep add another 12% to your vehicle purchase price!
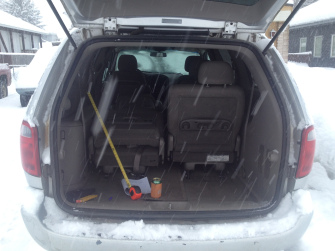
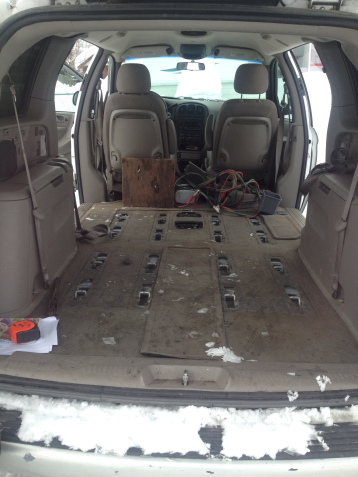
Step 2: Gut her good
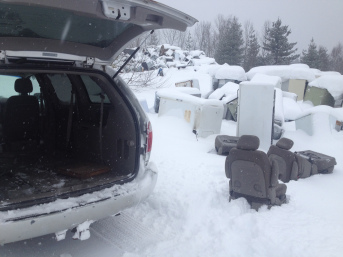
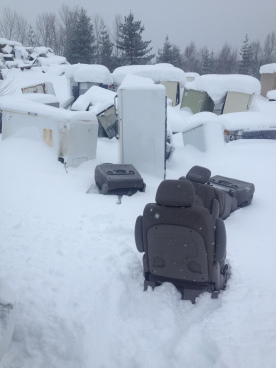
Rule 1: Don’t get sentimental when you abandon your car seats in the snow amongst the other discarded items at the dump.
Rule 2: Don’t hesitate when you cut the seat belts out forever.
No turning back when you’ve committed to creating your future home!
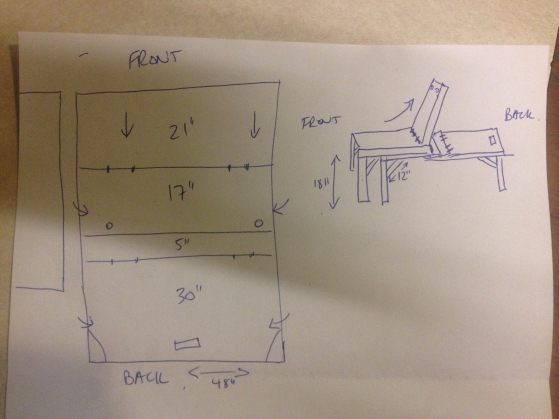
Step 3: Measure & Plan
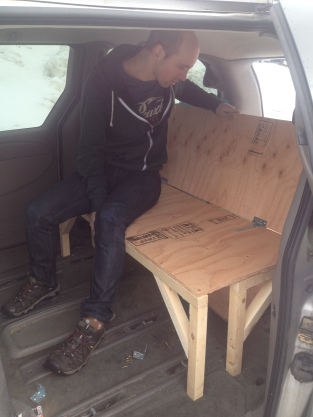
Even if you have a vague idea of some aspects, like special nic nacs you may want built at some point. The key is to make sure that you get the fundamental idea of the main aspect – your bed frame. It’s key and you can build anything around this. I went through lots of images and sites online, trying to find the right fit. Do I want a static bed, how much storage do I want and so forth. My decision was made by trying to make my space as useful as possible. And as such having a bed that also folds into a seat. (with the hope of a fold out table to eat at when its super rainy).
Step 4: Buy Your Supplies
One trip will not cover it, but you can at least get the main parts for building it. I got an 8 feet x 4 feet plywood 5/8 thick and 6 2 x 2 and lots and lots of various screws. 4 hinges and well there had to be a couple of trips to then get 90 degree metal braces and more of a certain screw length. But initially your biggest items first, to build your base frame. In total the van and all the screws and so forth cost $100.

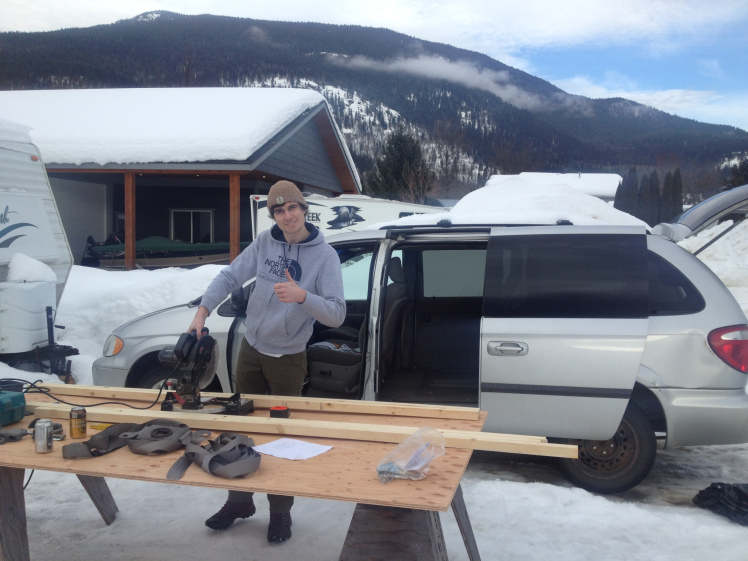
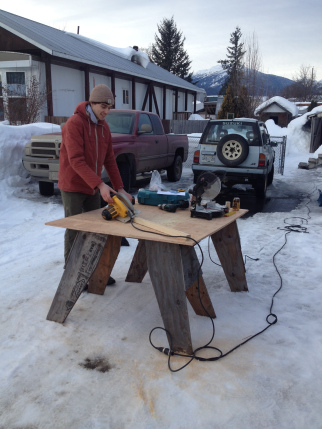
Step 5: Convince People to Help You
I have used a drill before, but not a saw and I’m certainly not the most handy person…the fear of me somehow cutting off my arm was certainly playing in my head. So asking for help was not a defeat on my part. (And obviously utilising free food and booze to get this free service is also helpful!). Plus it makes it more fun. I was lucky and got 2 awesome people to help me out – Alex (France) and Jon (England)…and I’m pretty sure they had lots of fun too!
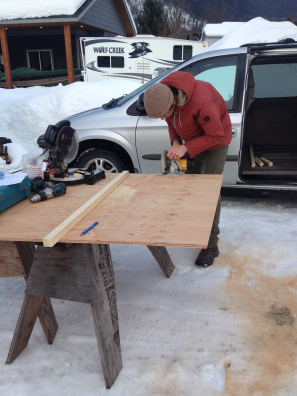
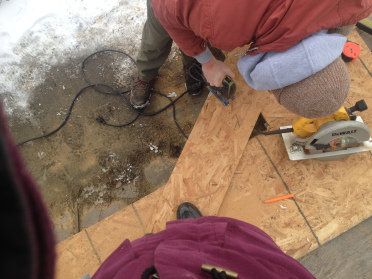
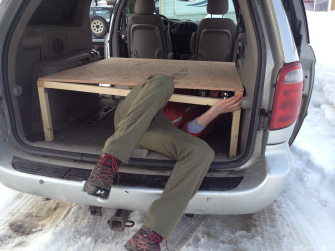
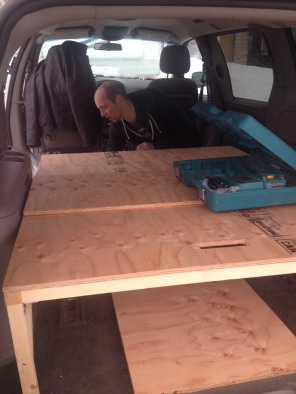
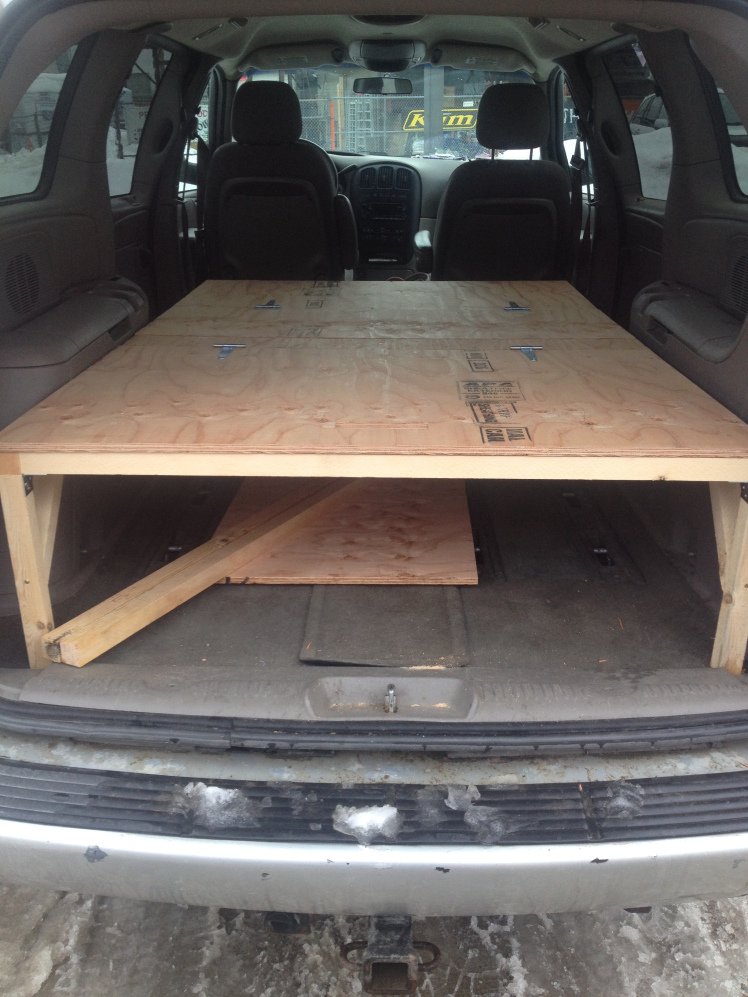
Step 6: Get the wheels turning and CUT!
As Alex says to me (in the most French English accent possible) “measure, measure, measure. Cut once”. And the first thing was explaining what I wanted done and measuring…alot! And underway, the bed started to evolve. We came across some issues, such as the 2 x 2 being quite flimsy, so Alex created braces and that solved the problem….so if the van is a rockin’, don’t come a knockin’! ALso realising the square edges of the boot lift up would hit the sides, so these needed to be cut as well. At the end of the first day, we had an almost finished the bed frame, but we ran out of daylight…so tbc
Step 7: Finish the Bed
Even without getting all the other stuff done, having the bed is kind of key to at least being able to go out on adventures. And thanks to Jon, it came to life.
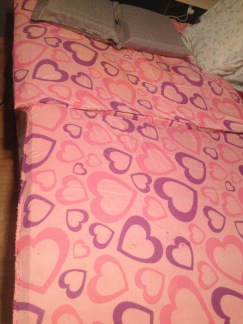
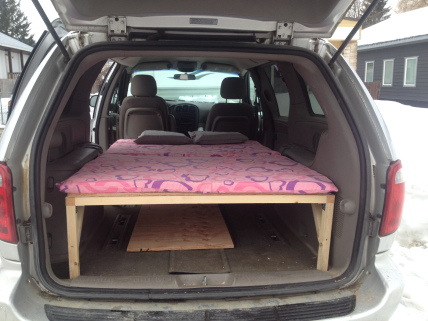
Step 8: Make your mattress
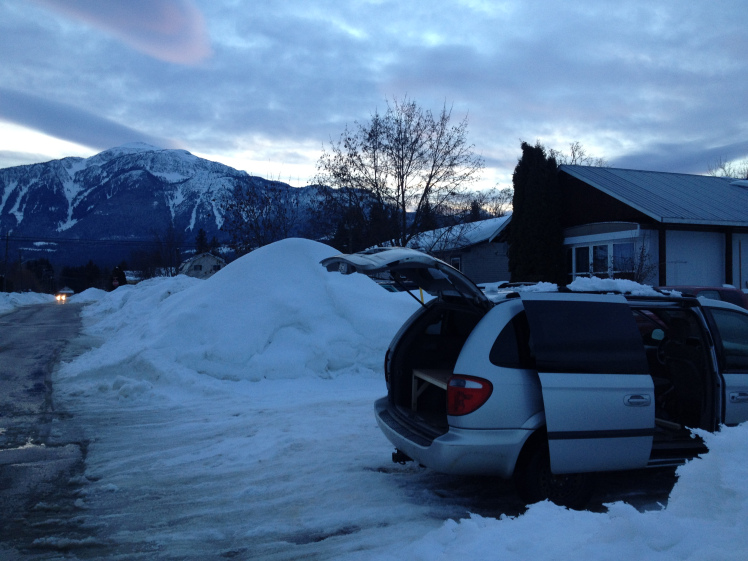
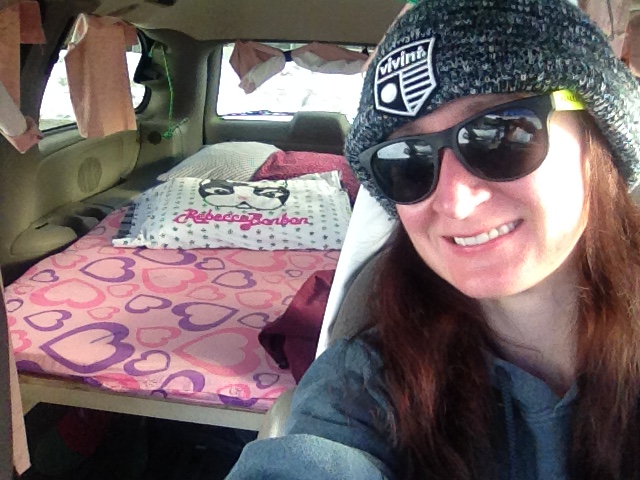
Quite an important point, cause getting a good night sleep certainly helps…especially after a couple of days. I got 2 x 1.5 inch foam mattresses from the thrift shop and a single duvet cover and cut to the dimensions. Now because, my bed folds into a seat, I have to have a foamie and have it cut. But if you have a normal bed frame in the car, possibly worth an investment of a mattress. But I have camped on solid ground and I spent 2 months sleeping on floors in Iran, so this is pretty luxurious for me. (and no, there was no other duvet cover EXCEPT the pink hearts!). In Revelstoke, I can find a a thousand people with tools to fix my car, build a house…but no sewing machine. So after 5 hours of cutting and hand sewing, the mattresses and 2 pillows were made!
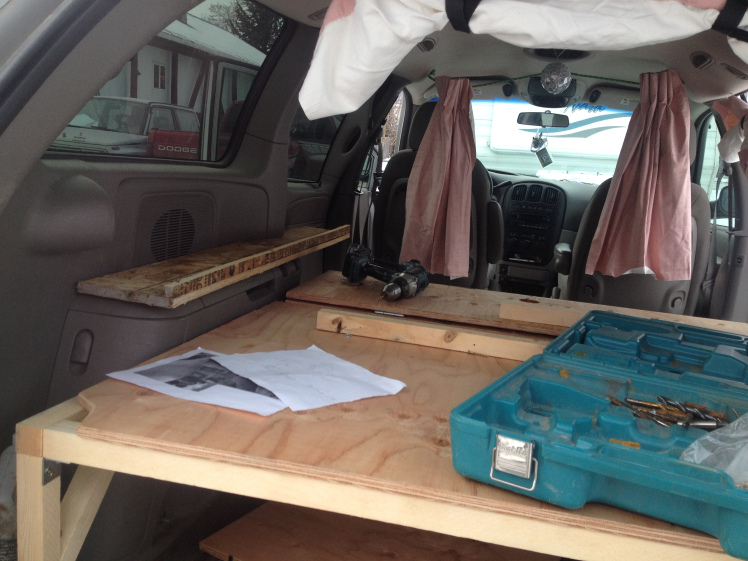
Step 9: Curtains & Shelving
My most useful contribution is clearly the styling of the vehicle. My landlord gave me some pink curtains from the thrift shop he didn’t need and so the pink odyssey continues. The front curtains are held by a rope and 2 screws, with the middle in place by a large paperclip. These slide along with the hooks that came apart of the curtains.
The rest of the curtains are held in place by large paperclips and then velcro to have them rolled up when on the move. The paperclips were chosen, cause they don’t ruin the interior of the van – you can barely see the hole – plus you can clip in/out quickly and they’re cheap and replaceable.
Alex took time to decide on his shelves and slowly developing the idea of a fold out table for when the seat is pulled up. However, the shelves became the only addition.
The final Step: Go on an Adventure!
Watch this space for crazy shenanigans…and hopefully a vehicle that can survive the summer…at least!
Updated note: Little bitch and I had a couple of years of incredible travel, but she has gone to another home to continue her adventures in Canada.